
How to Tidy up Your Blog's Menu and Sidebar
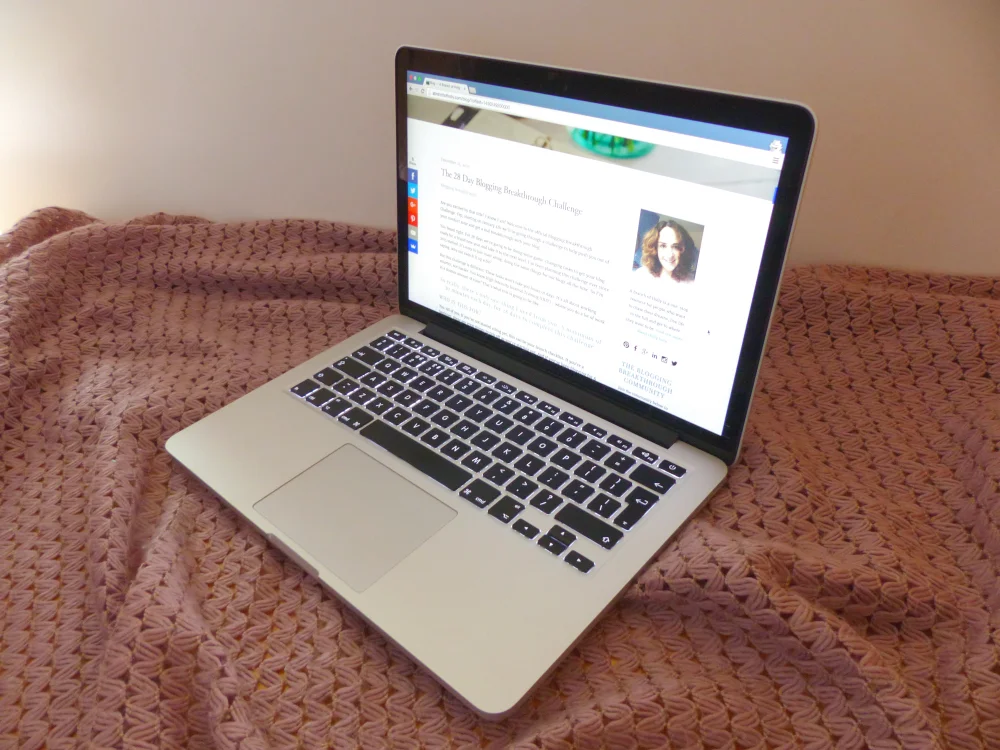
This post is Day 14 of the 28 Day Blogging Breakthrough Challenge. You can chat about the challenge on social media using the hashtag #BloggingBreakthrough. Click here to view all of the challenge prompts. I'd also like to welcome Hayli De Jong, who has written today's post. Her purpose is to teach you how to expand your audience and help you stand out in a sea of bloggers.
Have you ever gone onto a new blog, read an article and REALLY wanted to read more from the person...I mean they had such an awesome blog post....but then you take one look at the navigation and the sidebar, and you can't seem to figure out where the rest of the blog posts are?
The menu is cluttered with topics that don't make sense, the sidebar is full of unrelated ads and buttons from random "organizations" that the blog is a part of. And yet you can't find any other posts to read ANYWHERE.
After a quick scan of course, you give up and click out of the page. Too bad. You really liked that first article.
We've all been there right?
Let's talk about actions that you can take to be sure that your menu and sidebar are user friendly and easier to navigate.
The first rule that applies to both sidebars AND menus is to keep it simple and give as few options as possible.
Often, we think that by breaking up our content into tons of tiny categories or having a bunch of different pages, we are sure to meet everyone's needs when they come to our website. When actually, we have much more difficulty deciding what we want when there are too many options.
Think about visiting a big city with a ton of new, different restaurants, all with different foods and a good variety - you'll more than likely have a hard time deciding on where you want to eat and sit and debate about it until you end up drawing restaurant names out of a hat to decide. Now think about visiting a small town with only two restaurant options - maybe one is pizza and one is a diner. Your choice is going to be MUCH easier in the small town.
Although we like the idea of different choices, and maybe all of those choices ARE wonderful, people on the internet do not often spend time searching through each of these options available on your site. They like clear, defined choices so that they can get exactly where they want to go with just half a second of looking.
So what does this mean for you?
Are you a.....
Blogger that doesn't sell anything:
Your goal is usually to get people to read more blog posts and mayyyyybe to sign up for your newsletter. You will of course, want an about or start here page to appear on your main menu, and possibly a subscribe page. As far as blog posts, you may want to break them up into roughly 3 (ideal number) categories for people to pick from. Typically, you do not want more than 4, since people will begin to get overwhelmed with more than 6-7 options on a menu.
Blogger who offers services, courses or products:
Your goal SHOULD be to get people either to A. Buy your products or B. Get on your list so that you can send out emails introducing them to your products. SO, based on this, your menu should have an about or start here page, a subscribe/lead magnet page, your blog and courses, products or services. Often, when bloggers are running a series or challenge they will also create a new page for that and put it in their menu.
Both options work towards getting your readers WHERE you want them to be. Of course, there are some "must haves" like an about page or a start here page - but these aren't truly where we want readers to hang out. These pages can be used to tell people about ourselves and what we do (obviously) and to guide our readers where we would like them to end up on our blogs, whether that be in a mini course or leading them into certain blog posts that you are particularly proud of.
How about "non-main" menus?
A non-main menu is typically where I throw all the stuff that is "expected", but I don't have much use for. For example I have a search bar and contact button down in the footer menu, along with the "legal" stuff and copyright.
What about sidebars?
Sidebars can either be incredibly useful in getting readers where they should go, OR they can be a horrible distraction and place for clutter.
It is commonly expected that you will have a picture of yourself at the very top of the sidebar. Not only does it let readers know that you are a real person, but it is less intimidating to visit a blog page with a picture above the fold - even if it is just a picture of yourself. Below that, in a caption of some sort, you will want to put a few quick words about yourself OR a link to your about page.
Again, let’s break this down into bloggers with no products and bloggers with products:
No product:
If you are not selling a product, commonly your goal is to gain more followers on social media. SO directly under your photo, you will want links to your social media accounts to make it easy for new readers to find and follow you. Typically, underneath that you may have an email sign up OR you will have your MOST POPULAR posts displayed. Many times, people debate between doing most recent or most popular, and generally, people are able to easily see your most recent by just going to your blog page - your most popular posts are more likely to excite people as well, because they’re what other readers have really liked.
You either create your own most popular links by creating graphics and linking to the posts manually, OR by using a widget to do so for you if you are on Wordpress.
After you have your most popular posts and your newsletter sign up (in whichever order you prefer) you can really do whatever you want underneath. However, I caution you that having too much "stuff" can make your blog look cluttered and unwelcoming. Not to mention having many widgets or graphics trying to load on each page can drastically slow your page down.
A few common things are ads (use sparingly), Pinterest, Twitter or Instagram feed widgets, buttons or graphics of groups you are a part of (in order to promote those groups), larger publications you've been featured in or awards you have won.
Products:
When selling a product, again, you have one of two goals - sell them the product, or get them on your list so you can warm them up to the product. You will want to put a graphic of your lead magnet (freebie, exchanged for an email address) under your photo. Typically, below this you will want to have a graphic of your paid offer. THEN you may want to follow with social media accounts.
This placement IS important because, people in all honesty are more likely to sign up for a freebie than they are to purchase a product on a first time visit. It is better to put more guaranteed contact directly in front of them first than to try and go in for the sell right away.
After all of those items are in place, you can continue just as bloggers with no products would, with Top Posts followed by, well, whatever really.
As you can see, your overall goals can greatly affect how you should set up your menu and sidebar. We want people to see FIRST where we want them to go and make all their options easy to find without overwhelming them.
Here are a few other quick tips for when you are setting up your blog’s menu and sidebar:
1. Use easy to read fonts
It is really frustrating to try to read "pretty" script fonts when you are trying to find something on a blog. Use easy to read, decently sized fonts to help your readers out.
2. High contrast
Your links should stand out and say "click on me" rather than blend in. This means that it should mostly be a light color on a dark color or vice versa. Whenever I have something I REALLY want to be clicked on, I like to make that SUPER noticeable and clickable. For example I may have a black background with white links...if I really want you to click on one, I will make that one bright yellow.
3. Keep it simple
Overall, remember that as much as you may THINK it's a good idea to give a bunch of options, it is always a far better idea to keep it simple and give readers only a few places to go.
Today's Task
Go through the things that Hayli has outlined to clean up your blog's menu and sidebar.
- Think about the different options you want to have available to readers on your site and make a note of these to start with.
- Make sure you've got an About page, a Start Here page, a Subscribe page if you want one, and your categories are clear.
- If you sell products, follow the steps to make sure you've got specific pages for them.
- Go through and edit your sidebar, making sure your social media icons are at the top. If you sell products, make sure a graphic of your product is at the top. Then follow the other steps to make sure you've got all the important things in your sidebar.
- Look at it from an outsiders point of view - make sure everything is easy to access and the font reads well.
- Keep it simple - does everything work together? Keep your reader in mind.
TO GETTING A BREAKTHROUGH WITH YOUR BLOG

Let's chat in the comments - how do you feel about your blog's menu and sidebar? What are the biggest takeaways you've got out of this post?