
HOW TO CREATE YOUR PERSONAL SOCIAL MEDIA POSTING SCHEDULE IN 5 MINUTES

If I asked you to tell me when the best times to post on social media are, what would you say? First thing in the morning, lunchtime, 5pm when people are going home and so on, right? But there's something I don't get. It's all well and good posting at optimal times like those. Of course, that's when a lot of people are online. But why just publish content on social media when everybody else does, when you can create your own unique posting schedule?
Let me explain. Many studies have been carried out trying to find the best times to post content on social media. For each platform it's slightly different (but that's for another blog post.) Overall, some common times are always found - we just listed them. You could pick times throughout the day in each of these slots and push out your content at optimal points.
BUT - and it's a big but - every other blogger you know is posting their content to their social channels at this time. That's a lot of noise you've got to compete with.
So what if there was a way for you to create a schedule that was personal to you? So the times that you were pushing out content socially, were specific to you and only you. How great would that be?
Good job it's possible then.
Today I'm going to walk you through how you can find out the best times to post to Twitter and Instagram for your audience and your audience only. I’ll give you step by step instructions and screenshots to guide you along the way to make it really easy for you to do.
It’ll take less than 5 minutes. But first...
Why is it better to have a unique posting schedule for social media?
It allows you to share content when your community is most active. This means you've got more chance of getting more retweets, likes and comments rather than if you were to just publish something at a random optimal time like 8am. There’s no guess work. These tools analyse your followers and do all the hard work for you.
So let’s get started!
First up, we’ll walk through how to create a posting schedule for Twitter. This has made the biggest difference to my own personal strategy by far. Since implementing this technique, I’ve been able to increase my followers and engagement more than I could any other way.
There are many websites that work with your Twitter account, but I’m going to talk you through Followerwonk and My Social Bro. I’ve been alternating with both of these over the past few weeks, to see which one gives me the best results.
#1 Followerwonk
Step 1
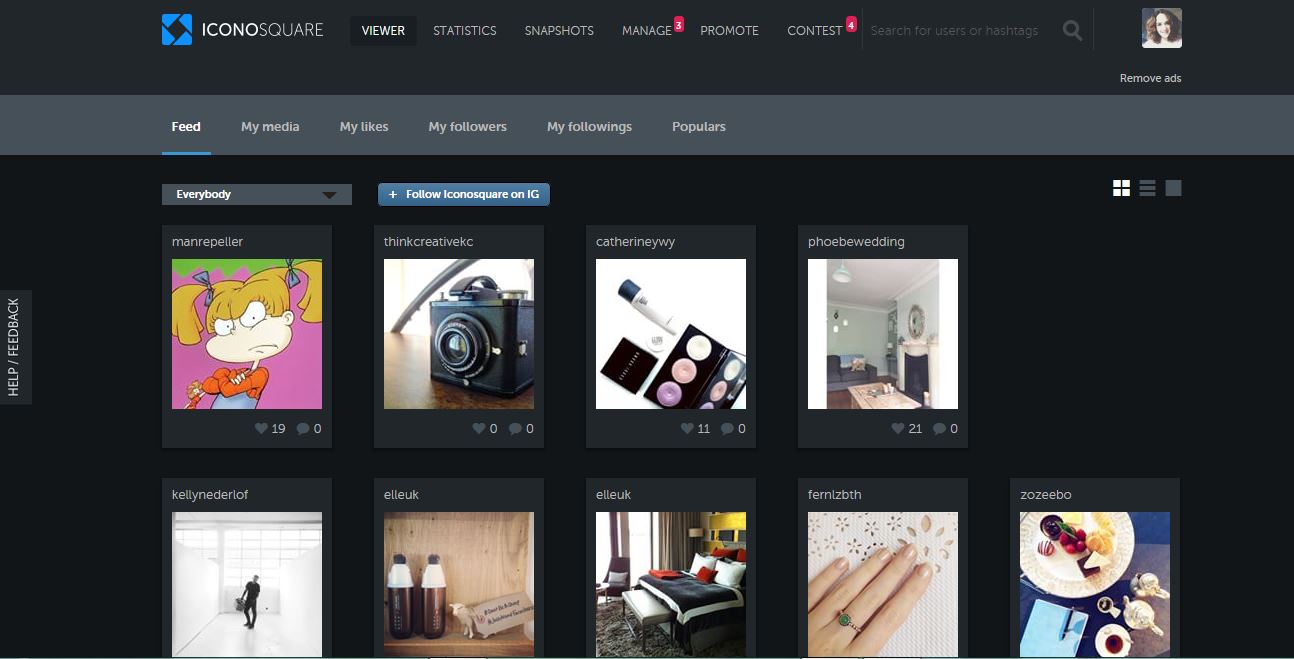
Head to the Followerwonk website and sign in with your Twitter account. Once you’ve signed in, you should see a page like this:

Step 2
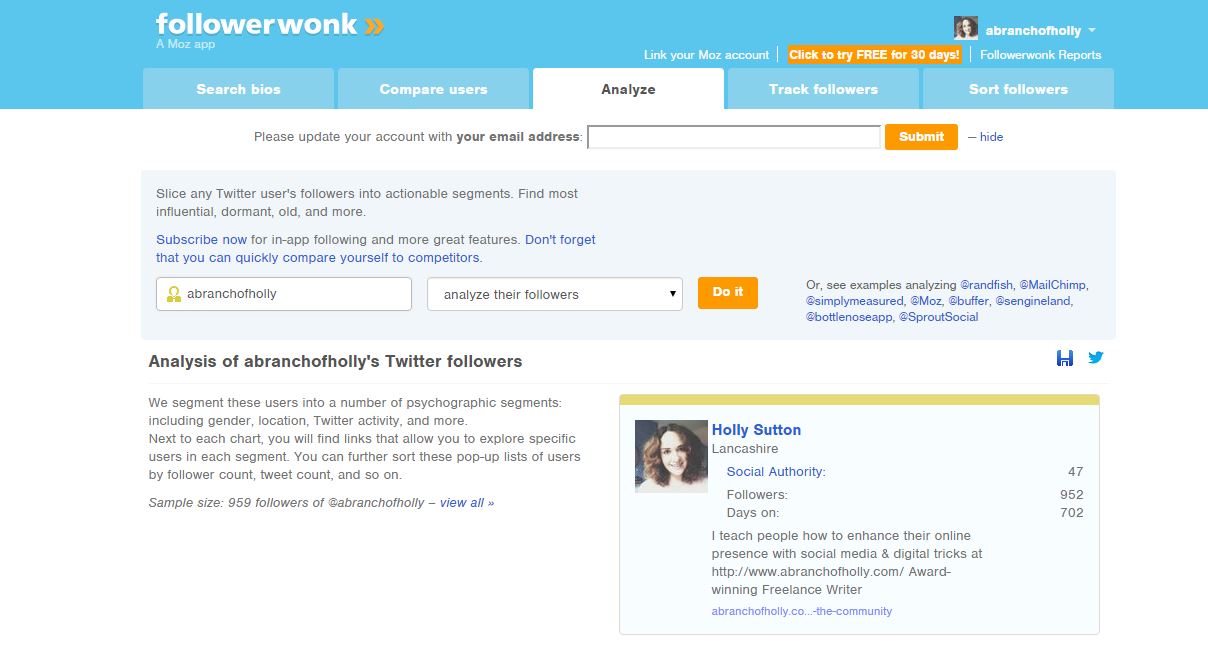
Click on the Analyze tab – the third one along. You should see a page like this:

Step 3
In the empty box on the left with the little person in it, you want to put in your own Twitter handle. So for me, I would put in abranchofholly. Then in the next box, click the drop down arrow and choose the option that says “analyze their followers”. It should look like this:

Step 4
Press the “do it” button and it should take you to a page that looks like this:
Step 5
All the information on this results page is really great. But what you’re interested in the most is further down the page. Go past the map and you should see a chart that looks like this:
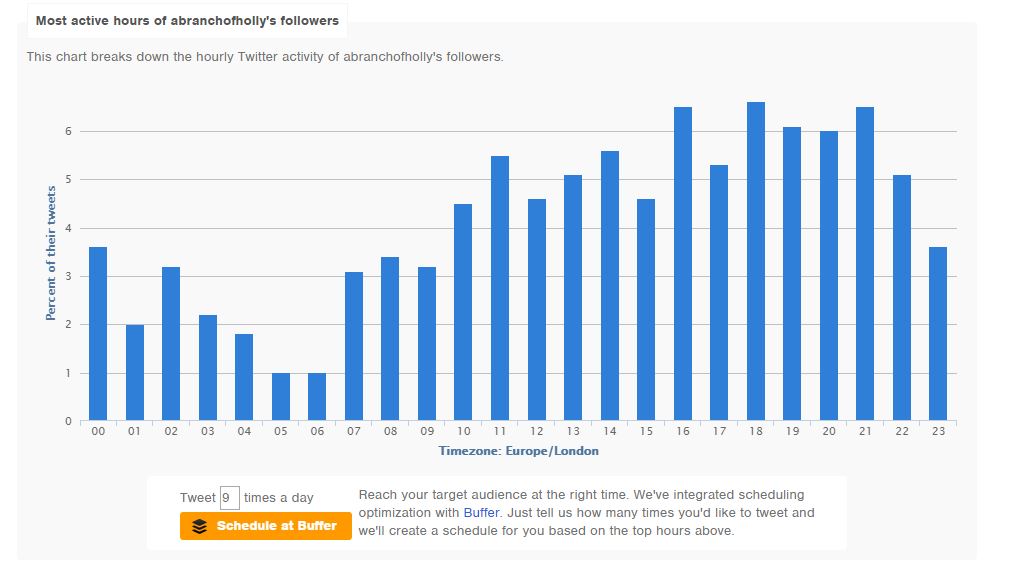
This chart shows you when your followers are most active throughout a 24 hour period. Looking at my chart, you can see the early hours of the morning are very quiet times, and then as you get to teatime and early evening, that’s when most of my followers are active on Twitter.
Step 6
Just underneath that graph you’ll see this:

This is where you can create your own schedule. All you need to do is choose the number of times you’d like to post to Twitter, hit the button that says “Schedule at Buffer” and Followerwonk will automatically transfer your new optimized schedule to your Buffer account. You can choose as many posting times or as few as you want – it’s totally up to you.
Step 7
All you need to do now is head to your Buffer account to make sure it’s worked and start scheduling tweets to go!

My Social Bro
Step 1
Head to the My Social Bro website and sign in with your Twitter account. Once you’ve signed in, you should see a page like this:

Now, there is a lot of information on My Social Bro. Feel free to take a look through it in your own time to get to grips with it, but today we’re just focusing on creating your posting schedule.
Step 2
Click on the analytics tab, the fifth tab along and a drop down menu will appear:

Step 3
In the drop down menu, click on “best time to tweet”. You should see a page like this:

My Social Bro takes 100 of your followers and analyses when they’re most active online. Click “get my report now”, choose your relevant time zone and then wait for the analysis. It might take a little while for your report to be generated.
Step 4
When it’s done, scroll down and you should see a chart that looks like this:
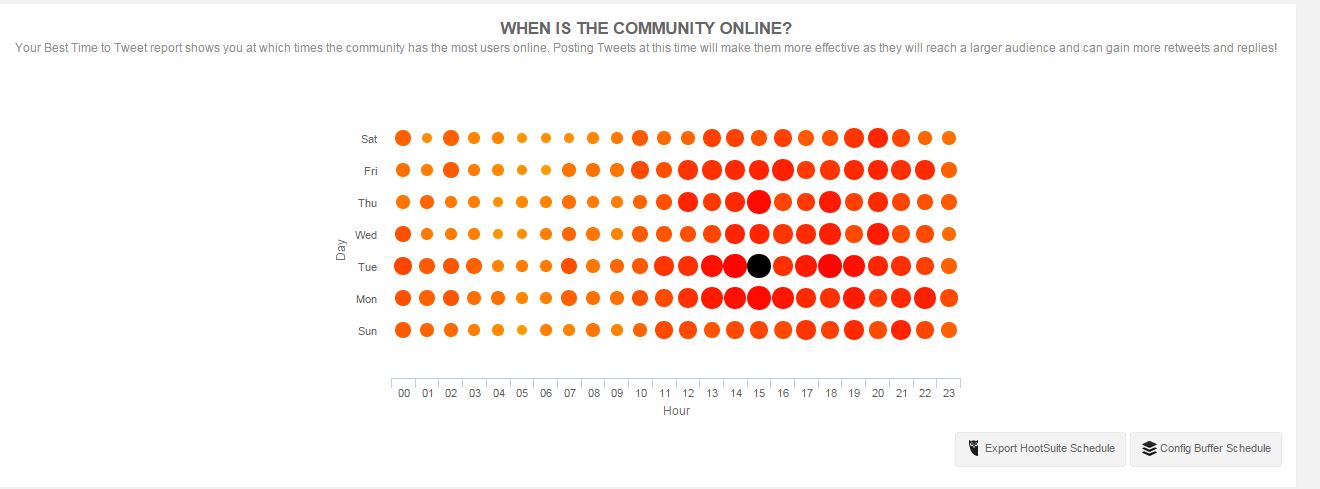
Click “Config Buffer Schedule” and a pop up box will appear, asking you to allow My Social Bro to access your Twitter account.
Step 5
Then, a box like this will appear:
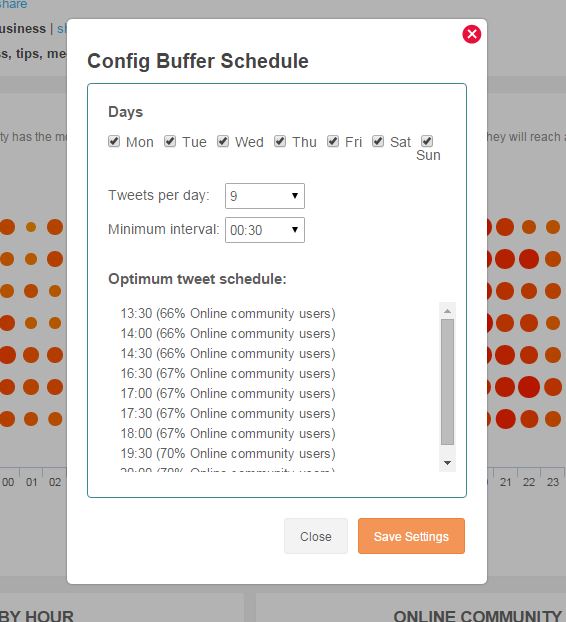
Again, you pick how many times you’d like to post to Twitter per day. You also get to pick the minimum interval between your tweets.
Once you click save, you’ll be notified that your Buffer schedule has been configured.
Step 6
Finally, just head over to Buffer to check your new schedule has been implemented.
Now this next part is important…
As you can see, Followerwonk and My Social Bro have both given me completely different optimal times to post. That’s why over the next month or so, I’m going to be switching between the two platforms and changing my times every week to see which one gives me the best engagement results. You can feel free to do the same or, if you have a preference, choose the one you have most faith in. Whatever you do, I really recommend that you make a note in your diary to update this schedule every week, using this tutorial. People's habits online change really frequently. That's why I've made the checklist for you so you can always keep it to hand!
When it comes to Instagram it’s a lot more straight forward. I’ve been using Iconosquare to generate my reports.
Step 1
Head to the Iconosquare website and sign in with your Instagram account. Your dashboard should look like this:
Step 2
Click on the “Statistics” tab (the second one along). You should see a page like this:
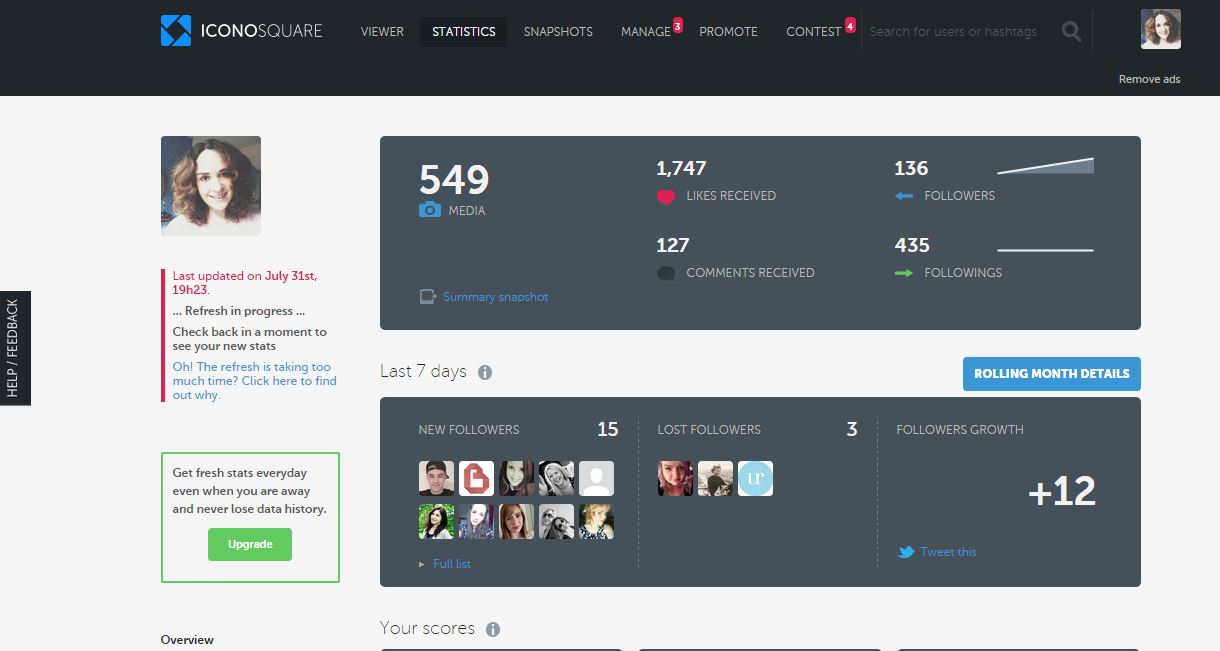
In the left hand corner under your picture, you’ll see when your stats were last updated. If it’s been a week, wait for the new analysis to come through as that will give you the most up to date schedule.
Step 3
If you scroll down you’ll see this menu:

Click on “Optimization”.
Step 4
Then this graph will appear:

This is where you can make a note of when your best times to post are. The black dots show when you’ve been posting and the light grey dots show when your community are the most active. The largest light grey dots are the best times for you to post to Instagram.
Step 5
Make a note of the times to post somewhere on your phone. For me, it would look something like this:
- Monday: 8am, 8pm
- Tuesday: 9pm
- Thursday: 8am
- Sunday: 6pm
But I’ve also made a note of other times too, such as Thursday at 7am and Friday at 4pm – the more times you’ve got, the better.
I’ve been trying out these optimal times and scheduling my Instagram posts with the app Latergramme. So far, the images I’ve uploaded have received the most likes and comments than any other image I’ve uploaded.
If you’ve made it to the end of this post and gone through all the steps in the tutorial, well done! This will make the biggest difference to your social media strategy. You won’t just be posting when everyone else does – you’ll be targeting your community directly, through your own unique schedule.